|
|
| Illustrated Guide to Dungeon Chests |
| Covetous Dungeon Chests, by Blackheath |
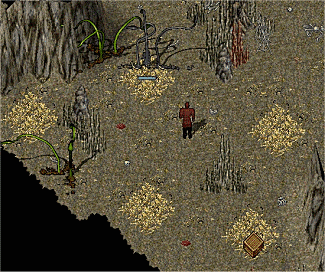
Level One
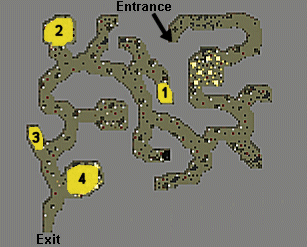
Area One
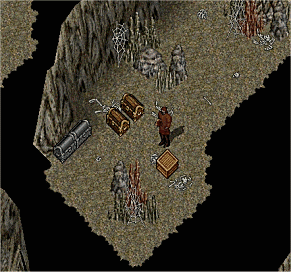 |
| Chests: |
One level 1, two level 2's |
| Local monsters: |
Gazers, headless and harpies nearby |
| Notes: |
The monsters do not actually spawn here, but they do sometimes target you while you are in this area. |
| Danger level: |
Low |
Area Two
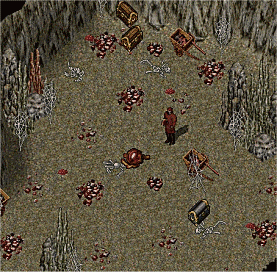 |
| Chests: |
One level 2, two level 3's |
| Local monsters: |
Gazers |
| Notes: |
It is easy to run between this and areas 3 and 4. As long as someone else is there fighting gazers the danger is low.
Watch out for the floor traps. |
| Danger level: |
Low to medium |
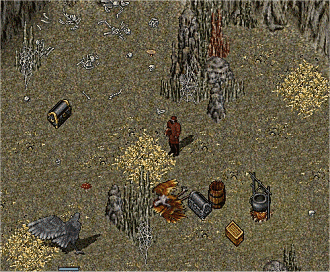
Area Three
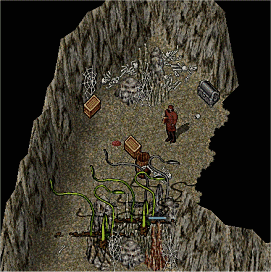 |
| Chests: |
One level 1, two level 2's |
| Local monsters: |
Corpsers, gazers nearby |
| Notes: |
Corpsers do not cast spells, and they cannot move. I think of them as nothing more than a splash of colour in an otherwise drab surrounding. |
| Danger level: |
Low |
Area Four
 |
| Chests: |
One level 2, two level 3's |
| Local monsters: |
Corpsers |
| Notes: |
Another fairly easy area. The biggest danger is from gazers that follow someone to the exit. |
| Danger level: |
Low |
Level 2
There is a random spawn of level 1 and level 2 chests throughout this level. They can be found all over, including
alongside the regular spawning chests in each of the areas here.
Area One - Harpy Room
 |
| Chests: |
One level 2, two level 3's |
| Local monsters: |
Harpies |
| Notes: |
There are a lot of harpies here. They can easily overwhelm you if you are not careful. |
| Danger level: |
Medium to high |
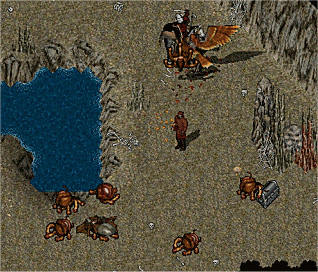
Area Two - Water Ele Room
 |
| Chests: |
One level 3, two level 4's |
| Local monsters: |
Water Elementals, Dread Spiders |
| Notes: |
This can be a nasty area, but well worth going to. |
| Danger level: |
High |
Area Three
 |
| Chests: |
One level 2, two level 3's |
| Local monsters: |
Gazers, Elder Gazers, Harpies |
| Notes: |
Another nasty area to be in by yourself. The Dread Spiders sometimes wander in here too. |
| Danger level: |
High |
Area Four
 |
| Number of chests: |
One level 2 |
| Local monsters: |
Corpsers, Gazers, sometimes a Harpy or Elder Gazer |
| Notes: |
Probably not worth a special trip, but you may as well pick the chest on your way out. |
| Danger level: |
Medium to High |
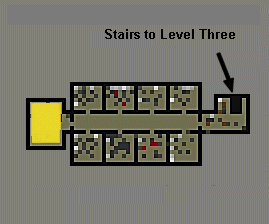
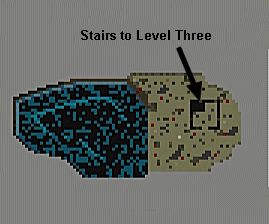
Level 3
Area 1
 |
| Chests: |
One level 3, two level 4's |
| Local monsters: |
Liches, Skeletons, Liches, Zombies, Liches and more Liches. |
| Notes: |
Covetous really takes a turn for the worse starting at level 3.
This room is just insane.
Unfortunately, most of the boxes you see here are statics. |
| Danger level: |
Extremely high! |
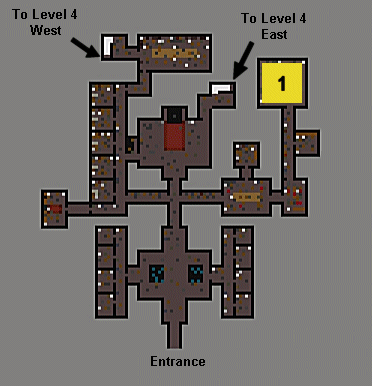
Level 4
Level 4 Covetous is split into two distinct and separate areas. Each side is reached via it's own staircase, one on the east side and one on the west. It is a very good idea to have an invisibility item ready to pop on as soon as you get down the stairs, especially on the east side.
West Side
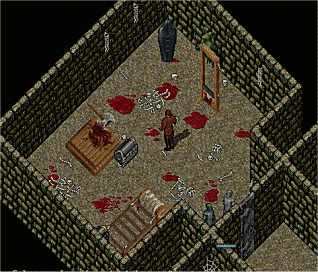 |
| Chests: |
One level 3, two level 4's |
| Local monsters: |
Mummies, Rotting Corpses. Zombies, wraiths and assorted undead in the hallway. |
| Notes: |
Ever fought a rotting corpse? They have an incredible number of hit points and are capable of level 5 poison. A small enclosed room isn't the ideal environment to fight one. They can be led outside or
locked into the cells in the hallway though. |
| Danger level: |
Extremely High |
East Side
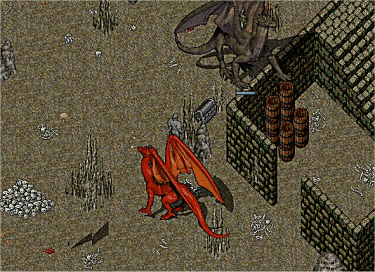 |
| Chests: |
One level 3, two level 4's |
| Local monsters: |
Dragons, Drakes |
| Notes: |
There is very often a dragon or drake hanging around near the stairs. This area keeps you jumping. Worth going to if you can handle the dragons or have a friend who can. |
| Danger level: |
Extremely High |
|
|
|
|